 Guides
Teams Status Light for Your Desk: 5 Placement Ideas
Your Microsoft Teams status is visible to people using Teams. Someone walking into your home office or approaching your desk may never see it. A physical status light gives them another way to check whether you are available before starting a conversation.
Where you put that light matters. A Teams status light for your desk should be visible from the direction people approach, with a clear meaning and a cable route that suits your workspace. Here are five practical placements to try.
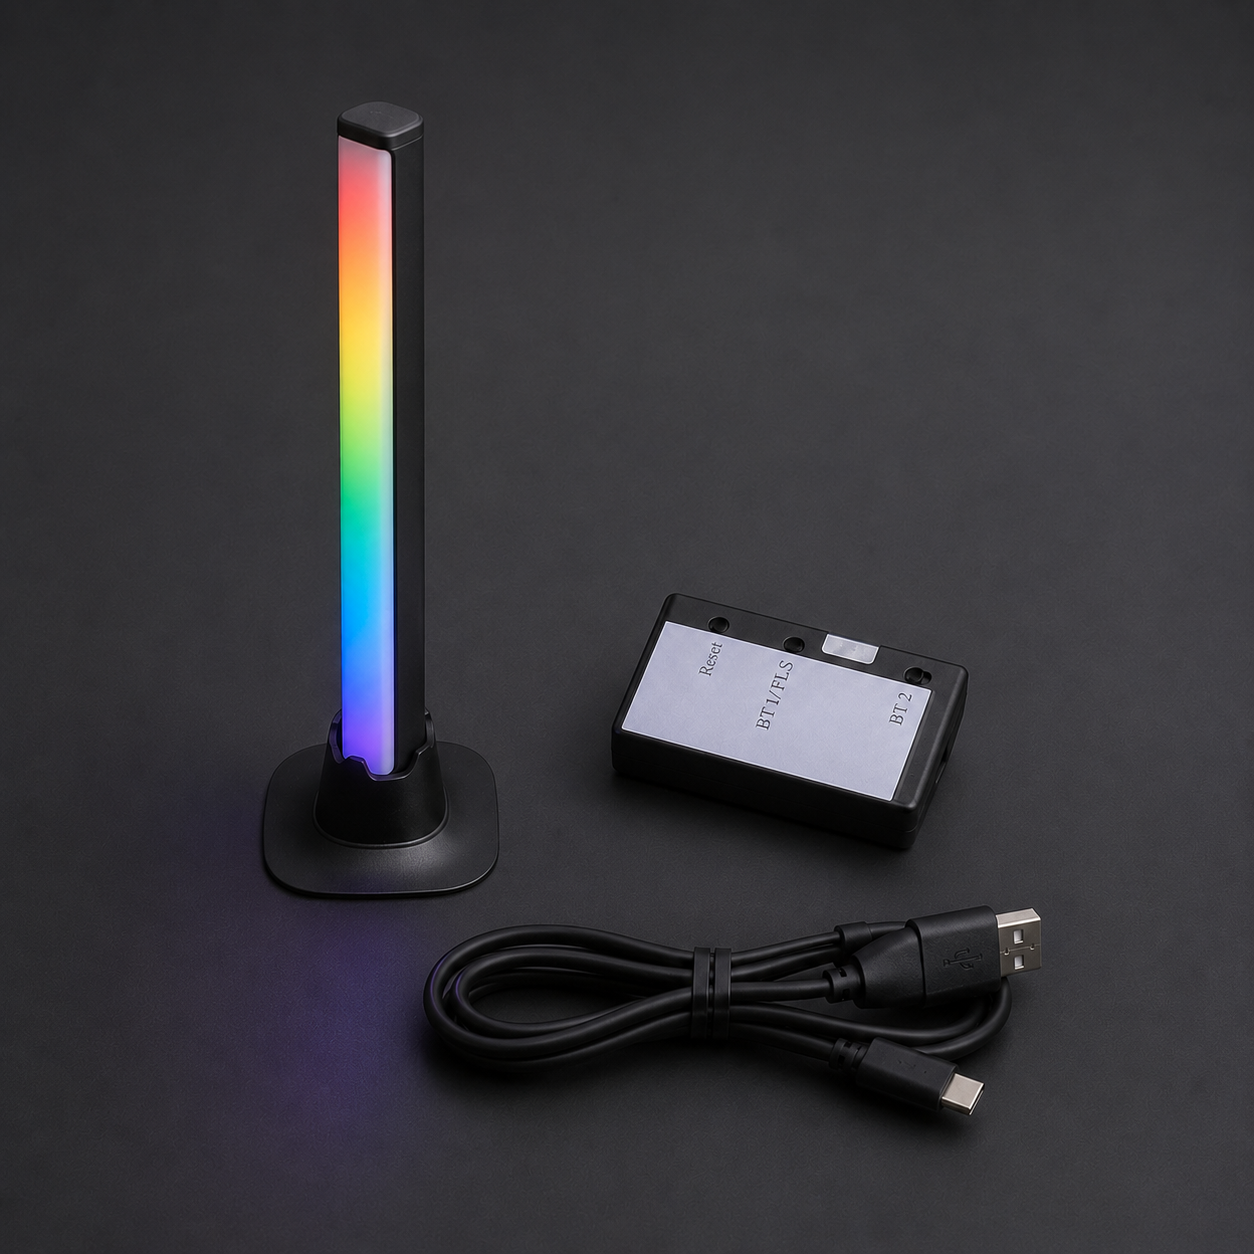
1. Beside your monitor
Place the light on the desk beside your monitor, using a stable stand. Keep it far enough forward that the screen does not hide it from someone approaching.
This position works well when visitors usually come toward the front of your desk. It also lets you glance at the light to check the signal yourself.
Check the view while sitting and standing. A monitor arm, laptop screen or speaker can block the light from one angle even when it looks clear from your chair.
2. On the approach side of your desk
If coworkers or family members usually approach from one side, position the light on that side of the desk.
Leave enough space between the stand and the edge to keep it secure. Keep it away from drinks, papers and the area where people put bags. Route the cable back along the desk rather than across the walking path.
This is a useful starting point for a desk facing a wall: the light can face the person approaching instead of being hidden behind your monitor.
3. On a stable shelf facing the doorway
A shelf near your desk may give the light a clearer line of sight from the entrance. Choose a position someone can see before they reach your chair.
Use the stand on a stable, level surface. Check that books, plants and shelf edges do not hide the illuminated section. Confirm the supplied cables reach the controller and computer without pulling on the connectors.
For a home office, try viewing the light from outside the doorway with the door in its usual position. Direct sunlight can make a color harder to distinguish, so repeat the check during the brightest part of the day.
4. On the return of an L-shaped desk
An L-shaped desk often has two very different views: the view from your chair and the view from the entrance.
Try placing the light on the outer return, where someone entering can see it without looking around your main monitor. Keep it clear of your writing area and any equipment you regularly move.
If your desk adjusts in height, check the cable route at both seated and standing positions. Leave enough slack for movement while keeping the cable away from the desk mechanism.
5. Near the entrance to a cubicle or shared desk
For a cubicle, put the light on a stable desk surface near the opening, where a person approaching can see it. A tall partition may hide a light placed farther inside.
At a shared desk, place the light clearly within your own workspace so people understand whose availability it represents. Discuss the signal with the person beside you.
A desk light is easiest to understand when everyone agrees on its meaning. It should support a conversation about interruptions rather than leave people guessing.
Agree on what the colors mean
A simple starting point is:
Explain your chosen meanings to coworkers or family. If someone has difficulty distinguishing colors, agree on an additional cue, such as a nearby written legend and a verbal check.
The light reflects a status signal. Your team or household still needs to decide how to handle urgent interruptions.
Set up automatic Teams sync
Status Notifier includes automatic Microsoft Teams sync in its free desktop app, with no subscription required for that feature. Teams sync requires an eligible work or school Microsoft 365 account; personal Microsoft accounts do not provide the required Teams presence.
The free app checks status about every 30 seconds, so a change may take a little time to appear. Some organizations require IT approval before a new app can access presence.
Connect the light through its controller, install the app and select Microsoft Teams as the status source. See how the Teams busy light works and follow the Status Notifier setup guide.
Run a five-minute visibility check
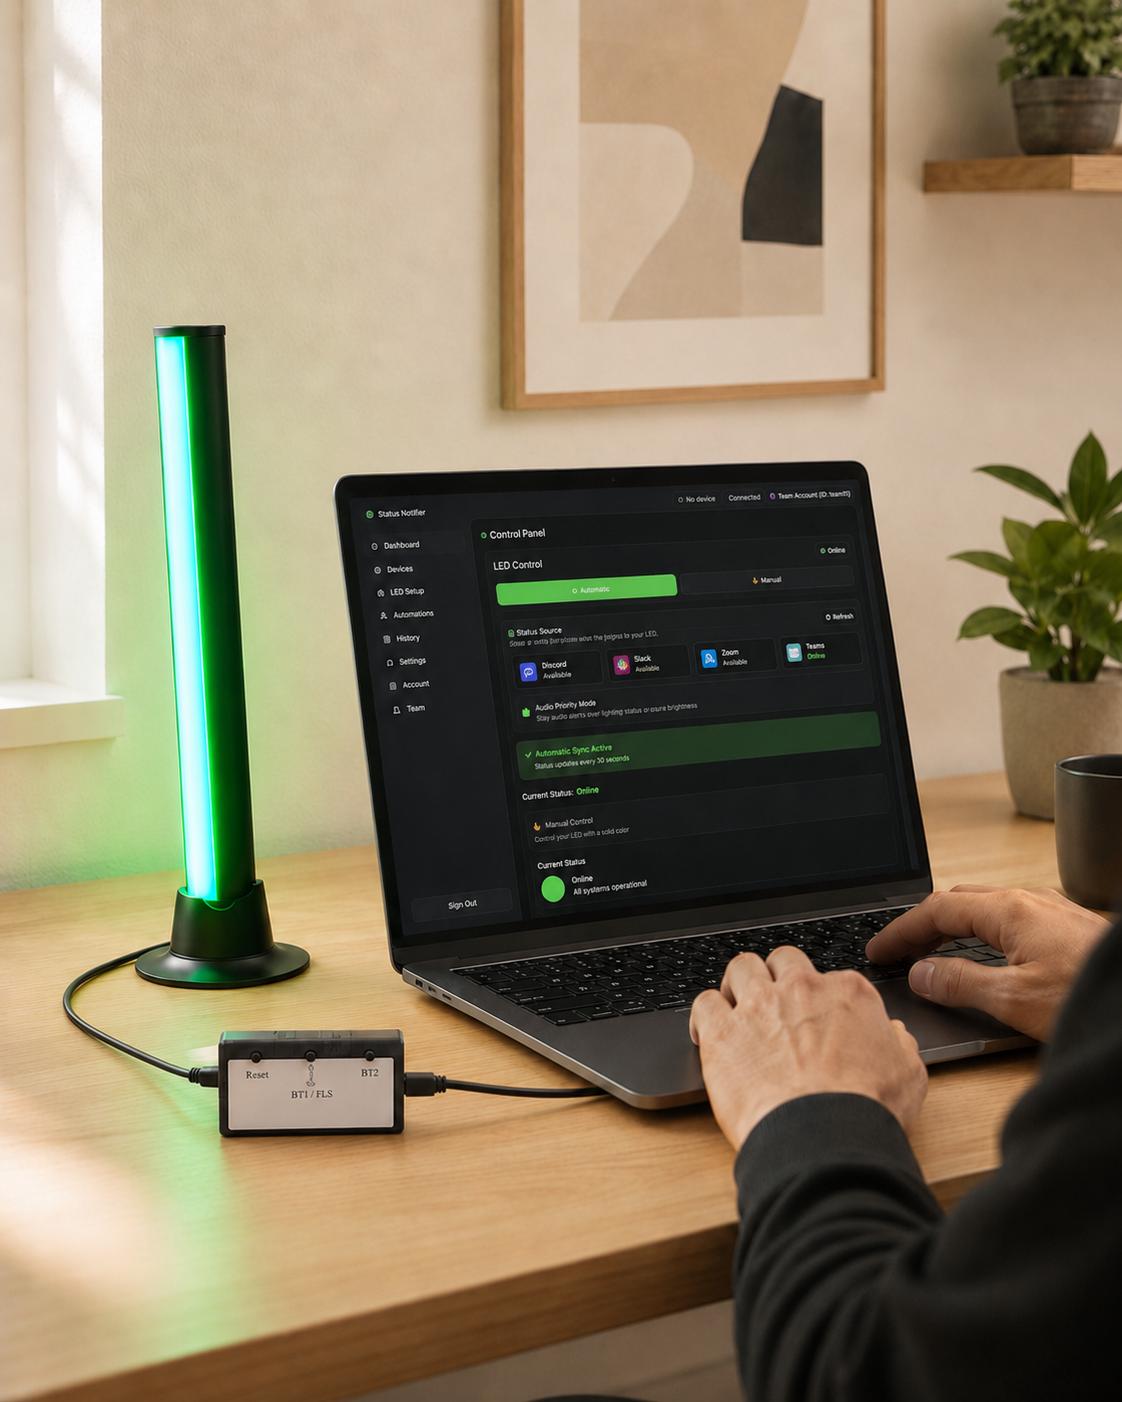
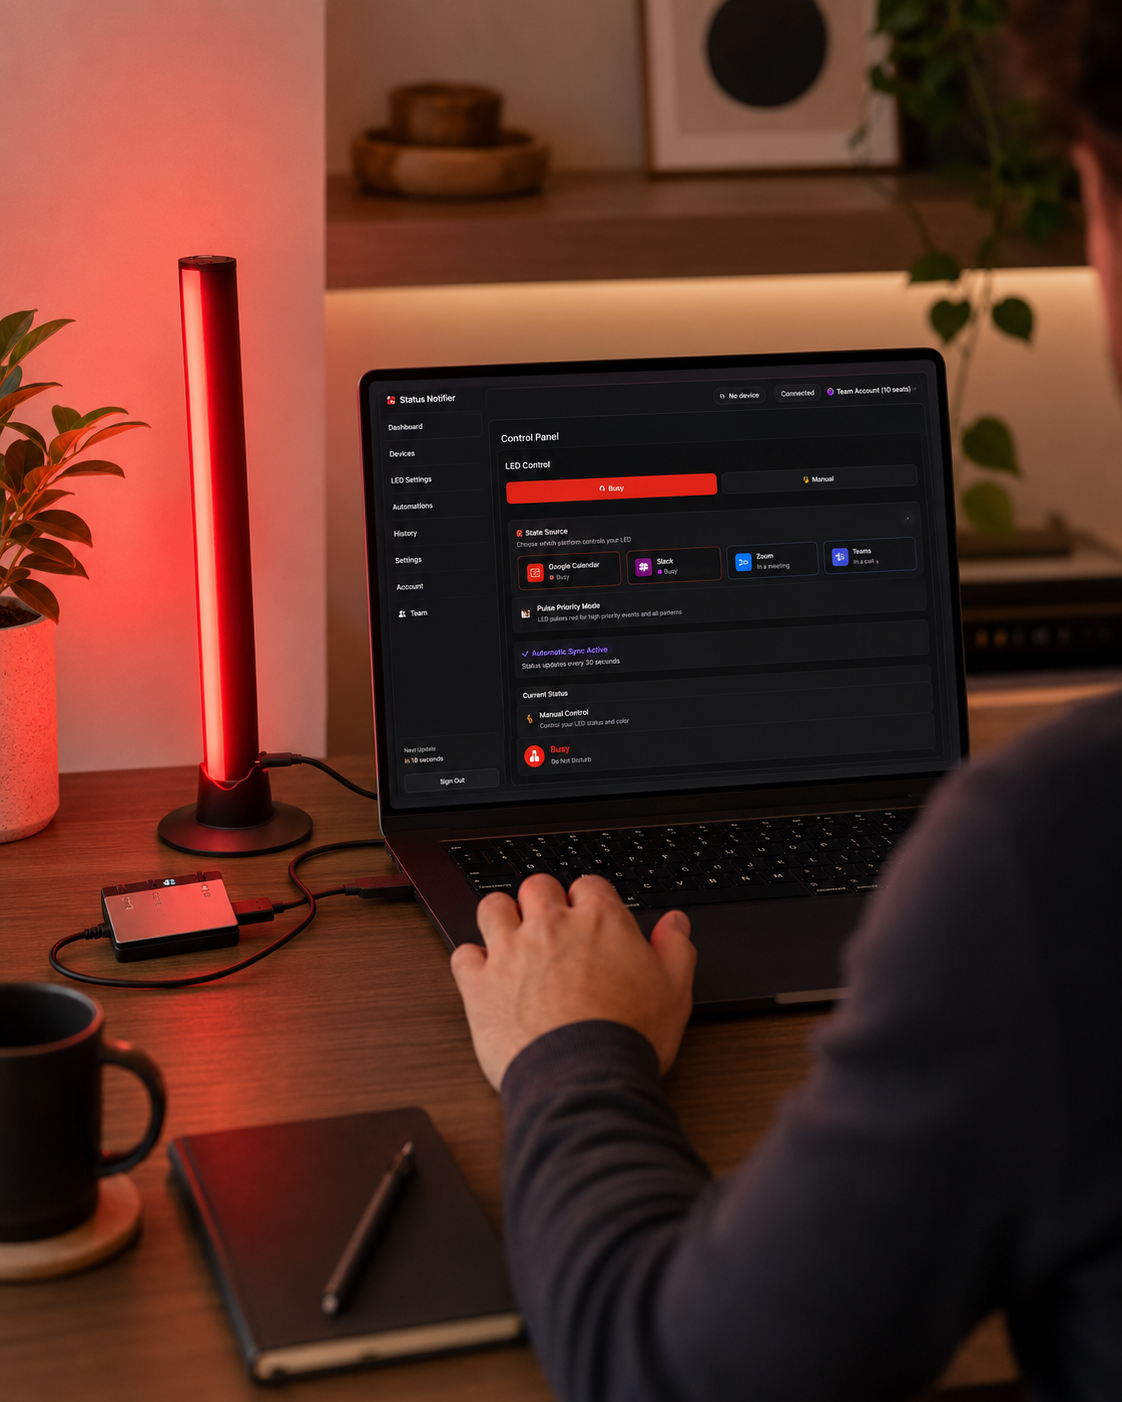
Matching red and green shots from the same spot make it obvious whether both signals read clearly:
Before settling on a position:
- Show red, green and amber using the app's manual controls.
- Ask someone to approach from the usual direction.
- Check whether they can see the light before reaching your chair.
- Ask what each color means to them.
- Check the cable route and stand stability, then switch back to Teams sync.
Move the light if the screen, furniture or room layout blocks the view. The best placement is the one people can notice and understand in your actual workspace.
Ready to add a visible availability signal? Shop Status Notifier. For help choosing a busy light, explore our comparison guide.